Reaching the AWS Console With an AWS Educate Student Account

Prerequisite:  You should have applied for an AWS Educate account and received an email from AWS accepting your application.

  1. Click on the hyperlink on the line of your acceptance email that says, “Bookmark the AWS Educate Student Portal for easy access, or click here to sign in directly.”
  2. Log into the AWS Student Portal.
  3. Click on AWS Account at the top-right of the page.
  4. Click on AWS Educate Starter Account.
  5. Click on AWS Console under Your AWS Account Status.

Creating an Amazon Web Services Student Account

In this course we’ll be working in the cloud, in particular in Amazon’s cloud using Amazon Web Services (AWS).  We’ll take advantage of a program that Amazon offers to educators and students.  With their AWS Educate program, Amazon provides free tutorials and free credit for their AWS cloud services.

Join AWS Educate

To Join AWS Educate, navigate to Amazon Web Services (AWS) Educate and choose Join AWS Educate.

On Step 1/3, choose Student.

On Step 2/3, fill out the form.

    • Type Bridgewater College in the School or Institution Name field, AND choose Bridgewater College from the drop down menu.
    • Be sure to use your BC email address.
    • When complete, select Next.
    • On the next screen, check the box next to I agree, and press Submit.

For Step 3/3, AWS will send you an email.  Click the link in the email to verify your email address.

After your application has been processed and approved (which may take a day or two), you will receive a welcome email from AWS with a promo code in it. Keep that email as we’ll need the promo code in the lab.

Creating a Linux VM in the AWS Cloud

The AWS website contains various tutorials for setting up systems in the AWS cloud.  Complete Steps 1-4 in the following tutorial: Launch a Linux Virtual Machine.  Steps 1-4 show you how to create a Linux instance in a virtual machine and log into it via Terminal or the Git terminal.

Please do not perform Step 5.  Step 5 shows you how to terminate the Linux instance.  Note that when you terminate an instance, you delete the instance.  We don’t want to delete the instance.  We’ll keep the instance running for the entire semester.

If you run into problems, please let me know.

Managing Software on Your Amazon Linux Instance Using yum

Amazon Linux includes a program called yum which is used to maintain (add, remove, update) software packages on your instance.

Below are instructions for updating your system and for installing development tools that include the gcc compiler.

If you want to explore what else yum can do, below are links to the yum documentation.

Updating Your System

Login to your instance.

Change user to root.

$ sudo su

Check if there are updates that available.

$ yum check-update

Update the packages that have updates available.

$ yum update
Reboot the VM
$ shutdown -r now

Your ssh connection will be lost.  If you want to continue working on your server, wait 2 minutes or so, and then log back into your instance.

Installing Dev Tools

Install the Java compiler and development libraries.

$ yum install java-devel

Install all of the packages in the “Development Tools” group.  This includes various compilers.

$ yum groupinstall "Development Tools"

Create and Connect to a MySQL Database on AWS

The following notes were created while following the AWS tutorial titled Create and Connect to a MySQL Database found here.  They describe experiences that I had when following the tutorial. They may include things that I encountered that differed from what was described in the tutorial and other challenges.

Step 1: Create a MySQL DB Instance

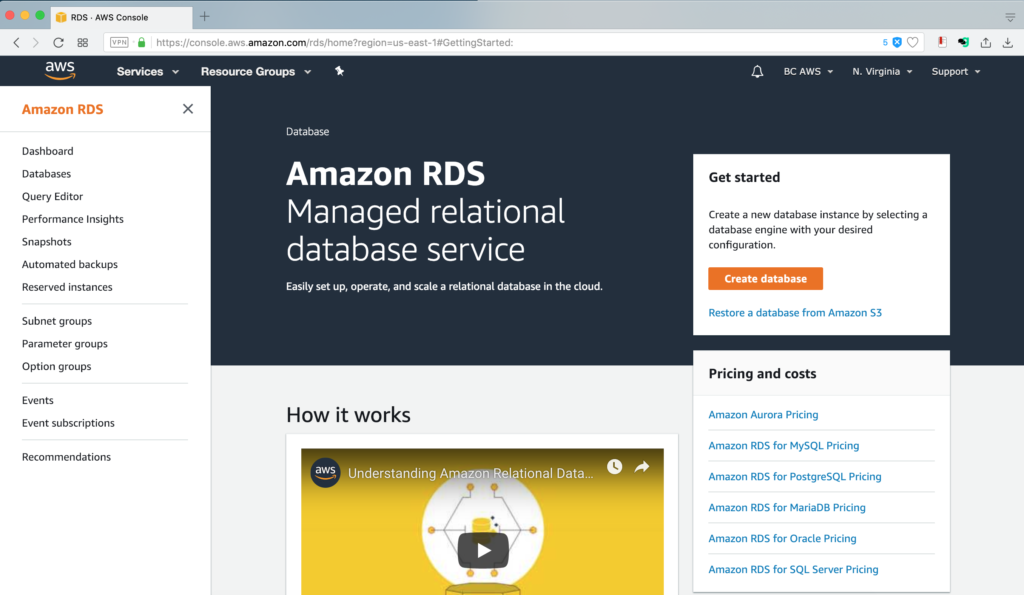
I found the RDS (Relational Database Service) console by logging into the AWS console, choosing Services, and then navigating to the Database section.

The Amazon RDS console looks different from the image in the tutorial (see screenshot below).

I clicked the Create database button and on the next screen chose MySQL as the type and pressed Next.

Select engine (Step 1 of 3)

I chose MySQL and pressed Next.

Choose use case (Step 2 of 4)

I chose Dev/Test and pressed Next.

Specify DB details (Step 3 of 4)

  • In the blue box labeled Free tier I checked the box labeled Only enable options eligible for RDS Free Usage Tier.
  • At the bottom of the page in the section labeled Settings, I entered rds-mysql-test for the DB instance identifier.
  • I chose a Master username and Master password and pressed Next.

Configure advanced settings (Step 4 of 4)

For the Public accessibility setting, I chose Yes.

For the VPC security groups setting, I chose Choose existing VPC security groups and deleted the default security group, then chose the security group for used by my linux instance.

Under Database options I set the Database name to contacts.

Under Backup, I changed the Backup retention period to 1 day.

At the bottom of the page I pressed Create database.

I navigated to my Linux Instance in the AWS console, selected Security Groups, and added an Inbound rule to the security group that I chose above to allow MySQL connections.

Step 2: Download a SQL Client

On the MySQL download page, rather than creating an account, I selected No thanks, just start my download.

I installed the software.

Step 3: Connect to the MySQL Database

I chose Database > Connect to Database from the menu bar.

In my web browser I navigated to the RDS console, chose Databases in the side bar, and selected by database instance in the Databases table.

I used the Endpoint url of the database instance for the hostname, entered my Master username and Master password, and pressed OK.

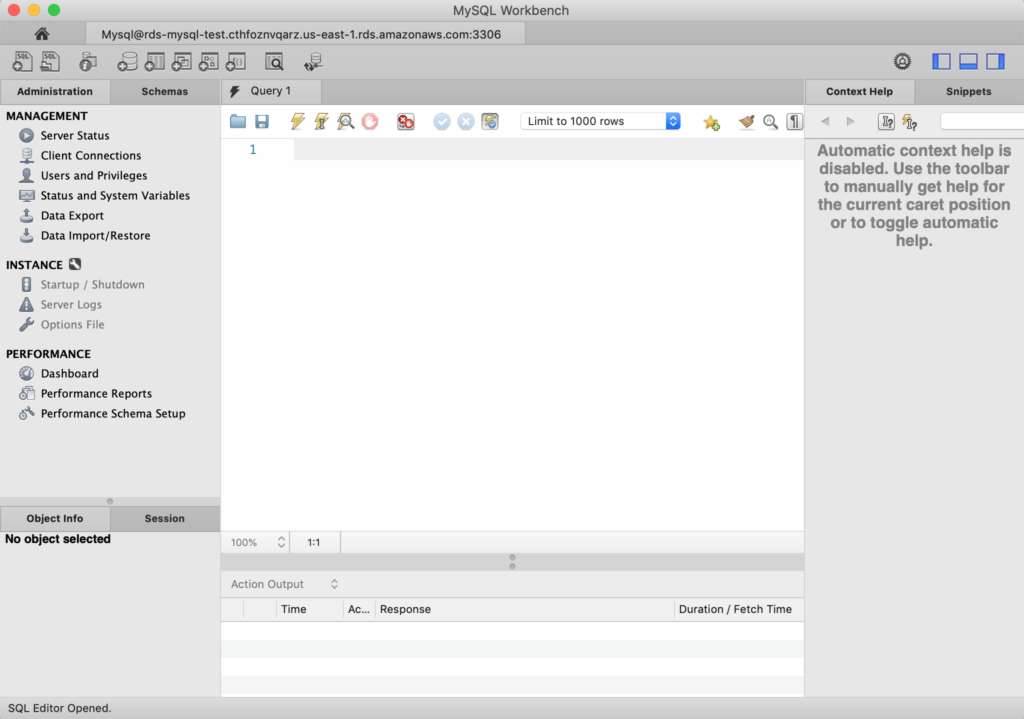
I was able to connect and saw the following screen.